Monster Guy

Monster Guy - Final

Saturday, May 14th, 2011

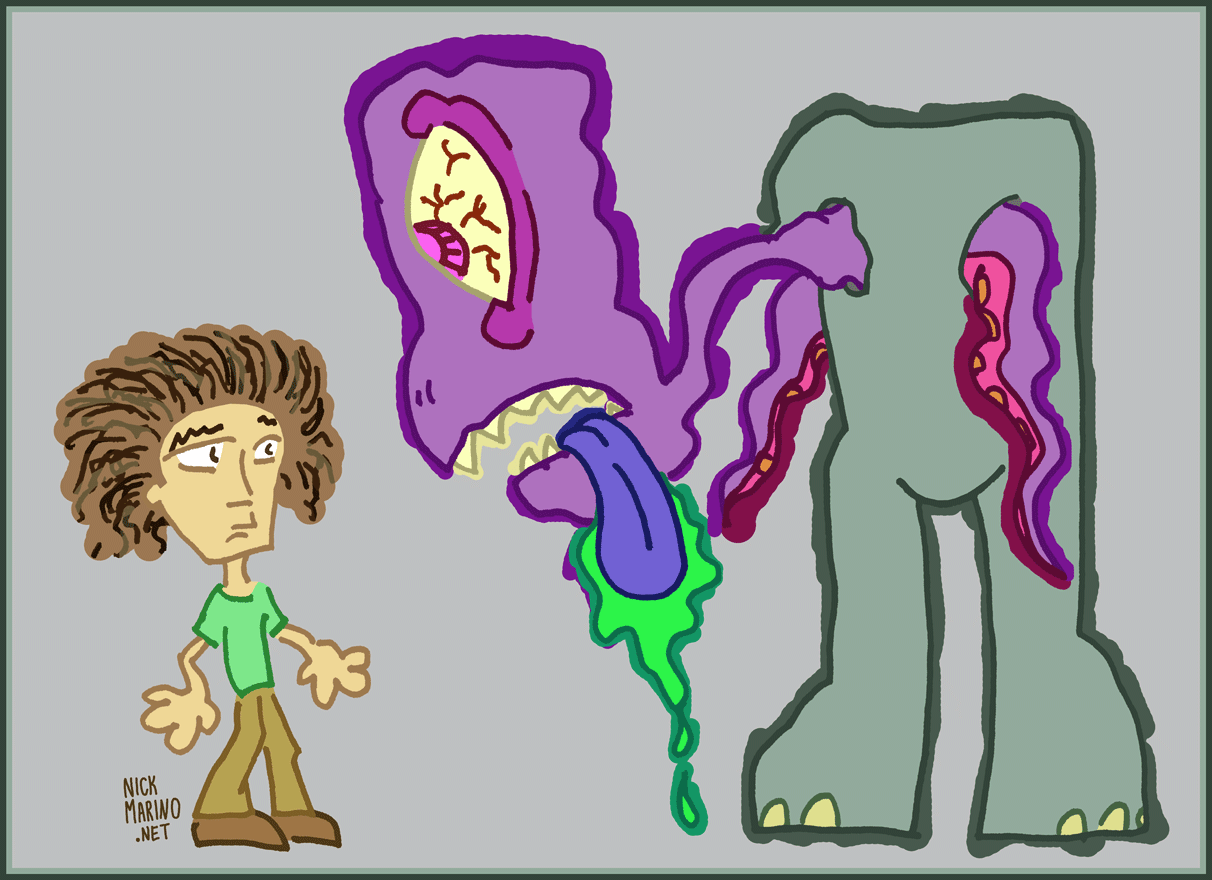
It's the end of the Monster Guy artistic process series!!

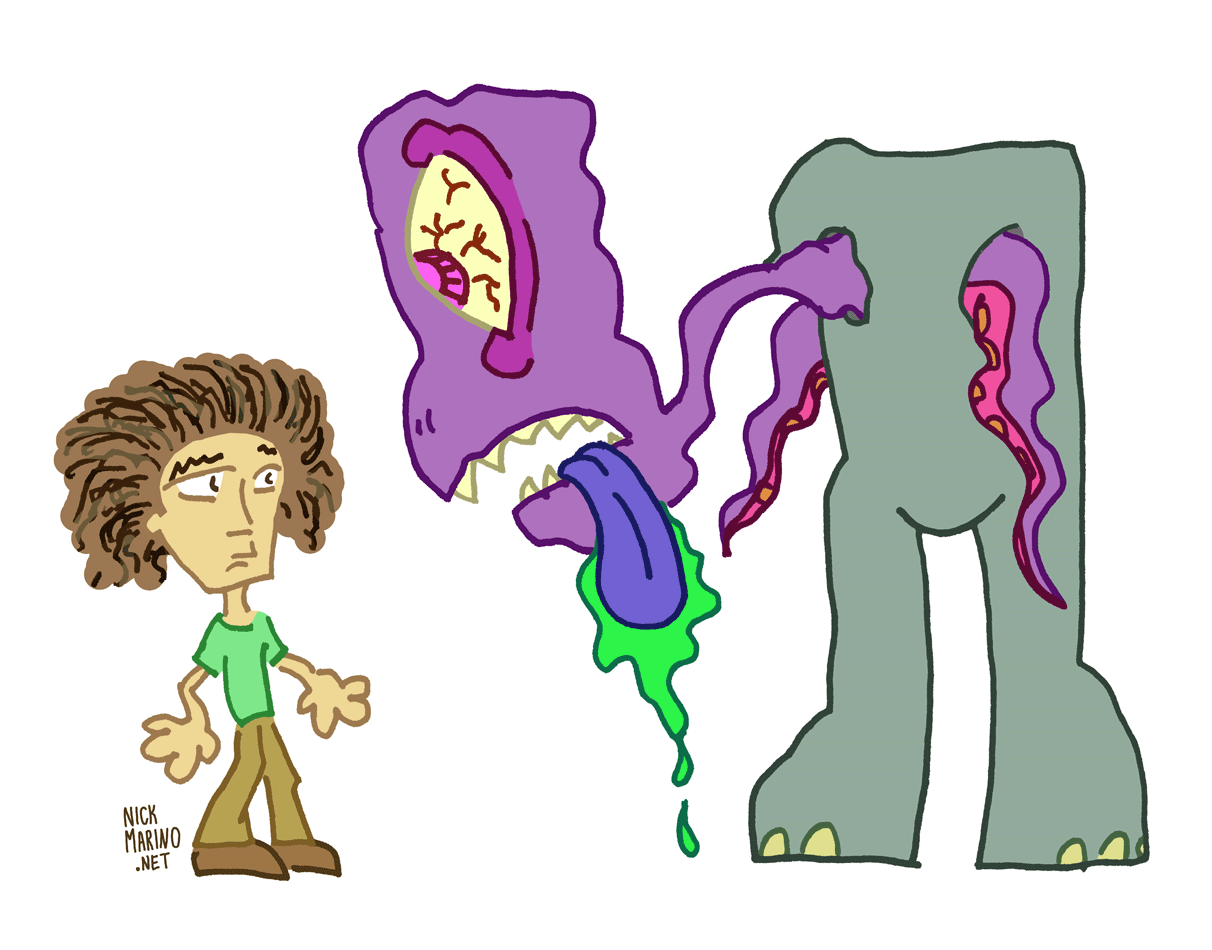
I showed you the line art, explained why I decided to use color holds, and shared my interior colors. The only differences between this final version and the interior colors are that I decided the final needed a background color to properly pop, and I also added some raw color edges to the monster.

Those raw color edges may look familiar to you if you've been following this series. I showed them to you back in my blog post about the color line art. The raw edge is actually the messy color I painted beneath the white line art shell to create my knockouts in the first place. I clicked them on by mistake when I was editing the layers of this piece, and I decided I liked how they looked. Accidental awesome!

Thx for checking out the artistic process of this sketch. If you dig Monster Guy, you can buy a print of it on deviantART.

Monster Guy around the web:
...on deviantART
...on Flickr
...on Tumblr

Monster Guy - Colors

Sunday, May 1st, 2011

Last time, I described the decision making process that led me to using color holds on the Monster Guy line art. This time, I'm sharing my interior colors!

Not a ton to explain here -- I'd already done most of my color selections during the knockouts stage, and I knew I wanted to go with slightly lighter or more muted tones to fill in the guts.

Well, for the most part, that is. A few areas received more vibrant tones for the interiors (the drool, the undersides of the tentacles, the eyes).

And, overall, I liked the result. But I didn't love it... which leads me to the next and final installment of the Monster Guy process, coming soon!!! See you then.

Monster Guy - Color Line Art

Sunday, April 17th, 2011

Okay so last week I shared the plain old black and white line art. And this week I'm back with the color line art!!!

When I first started coloring Monster Guy I wasn't sure how I wanted to tackle it. I certainly don't have anything against color holds, but at the same time, I don't choose to use them that often.

For some reason, I went nuts with the knockouts on this one. I just got really into it. And the process I used for the color holds was a little unconventional for me.

Anyone who knows my working process knows that I have a quirk -- I hate working with my line art layer set to multiply. I prefer to scan in my work as a 1200 DPI bitmap file, and then I separate the blacks from the whites.

And that's what I did for Monster Guy. But in the process of that, I realized that I was left with a white shell:

I decided to create my color holds by working underneath that white layer and using it as a mask. So, for example, if you were to hide that white shell layer, this is what the colors look like:

Because the white mask layer was originally made from a bitmap and it was composed of rigid pixels, I was able to merge the white layer with the colors underneath, and then easily delete away the white, leaving me with the color line art you see at the top of this post. VOILA!!!

Next time, I'll dig deeper into my interior coloring decisions for the penultimate installment of the Monster Guy artistic process!